Back to Basics Series : Part 3 Using Hydrangea Cutters
Welcome to Part 3 of my Back To Basics series. It has been so much fun to have you all join me over these weeks exploring the 6 different shapes included in the popular 18 piece cutter set currently available from Kmart Australia. (If you don't have the set don't worry you can buy them individually elsewhere) So let's continue to be inspired to make some gorgeous sugar decorations that you can store and use up to 6 months later.
Ensure you have read Part 1 Using Butterfly Cutters as I will not be repeating the basic step of using a plunger today, and of course it would only be logical to recommend checking out Part 2 Using Snowflake Cutters. Each part comes with new hints and tips so don't skip ahead!
Okay are you ready?
Get yourself set up with today's cutters, a mat, rolling pin, corn flour, CMC/Tylose treated fondant in your colour choice, and let's have some sugar play!
**New Items needed today:
Step 3: Hydrangea Cutters
- Copha or Vegetable Shortening
- Optional Red Petal dust
Step 3: Hydrangea Cutters
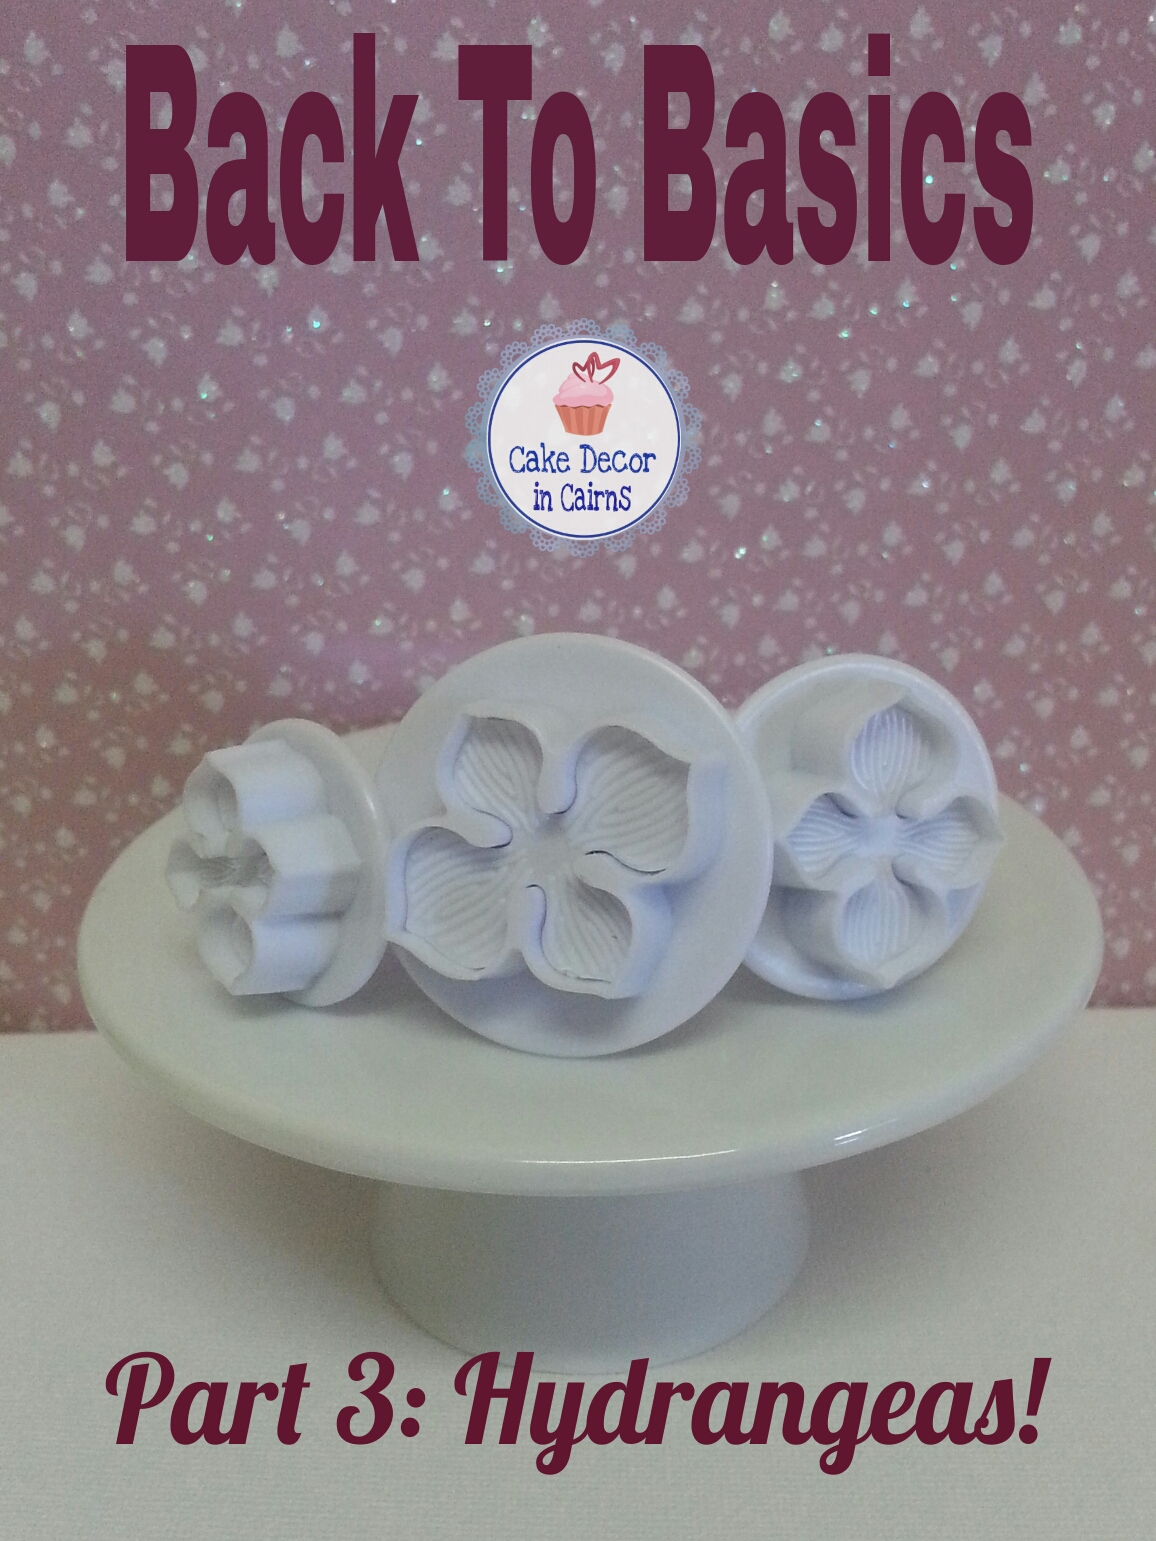
The third set from this fabulous box is the Hydrangea Cutters in three different sizes.
If you don't have this set at your Kmart, there are many other places you can buy them from individually.
And I like to point out that I actually bought a set myself to specifically present this series to you. Kmart have no affiliation with me. This is not a sponsored post.
Okay so first up today I want to quickly chat to you about using Copha. It is the easiest to find vegetable shortening in Australia. It's made from hydrogenated Coconut Oil - doesn't smell or taste like much.
Yes it is Vegetable Shortening!
I reckon it's fantastic to use as an alternative to any American recipe or tutorial that requires "Crisco" or Vegetable Shortening. I use it to make my Buttercream Recipe, to grease and flour my baking pans, and today I am using it to bring back to life some fondant that's gone a little dry.
Copha is rock solid in the fridge and needs to be left out at room temperature to soften and become usable. In winter and cold climates you may have to warm it a tiny bit in the microwave to soften it.
 |
| Kneaded in a little room temperature soft Copha, now my Fondant is now ready to use again. |
First up let's roll out a thin layer of fondant. I took the guides off my pin for this, the fondant is so thin I can almost see through it. If you find the fondant is sticky you can use cornflour or try rubbing a tiny smear of Copha / Vegetable shortening on the surface instead. If you added your Tylose in the night before, and kneaded your fondant well - it should be flexible enough to roll out this thin without breaking.
 |
| Fondant rolled out very thin. |
 |
| Cut out your flowers and gently pinch the petals to create a little bit of life likeness to them. |
 |
| Make a thin sausage of fondant and cut fairly even little pieces off as pictured, roll into tiny balls and glue one to each flower centre. |
*You will often see me use these little paint pallets as flower formers through out my posts.
They are cheap and hygenic, so easy to wash. For around $5 for a pack of 10 from my local craft store Spotlight.
Much cheaper than "real ones"
Once your hydrangeas are dry you can store them in an airtight container for up to Six Months. I recommend adding some mini foodsafe moisture absorbers (similar to ones you get in vitamin jars) or you may like to try Raw white rice.
Use them on cupcakes and cakes, glued onto fondant or buttercream... the possibilities are endless.
 |
| A quick blob of pink butter cream, and this plain cupcake has been transformed into a pretty bunch of hydrangeas! |
But Wait!...
There's More!
Okay so you know by now I can't just show you one idea so here goes my other use for hydrangea fondant cutters...
Succulents!
 |
| I use the thicker ring guides. |
 |
| Dry each layer separately in the former for 15 minutes, squash the smallest hydrangea shape together as pictured. |
 |
| Use some red petal dust to brush the edges. It's like applying eye shadow, you don't stroke it on, sort of smudge it over with a firm but soft brush. (Yes there is such a thing I promise) Use edible glue to stack the 3 layers together, using the end of your paint brush to centre it.
There are many different brands of petal dusts, but my preferred is Sugarflair Red, it's not so easy and cheap to buy in Australia and I normally order it in on ebay from Party Animal Online. Otherwise your local cake decorating supplies shop will stock other brands including Rolkem Rainbow spectrum dusts. In Cairns, The Cupcake Orchard usually stocks all of these at a very cheap price.
I didn't have any spare cupcakes to dress the succulent toppers on so I grabbed some brown sugar and got creative. I would really love to create a whole pot plant look and use crumbled chocolate biscuits as the dirt texture as well! Hmmm, yep, the ideas are endless!!!
Please let me know what you think in the comments section below!
Share ♡ Inspire ♡ Motivate :: Home Bakers Doing it for Themselves
|


Comments
Post a Comment
I would love to hear your comments! ♥